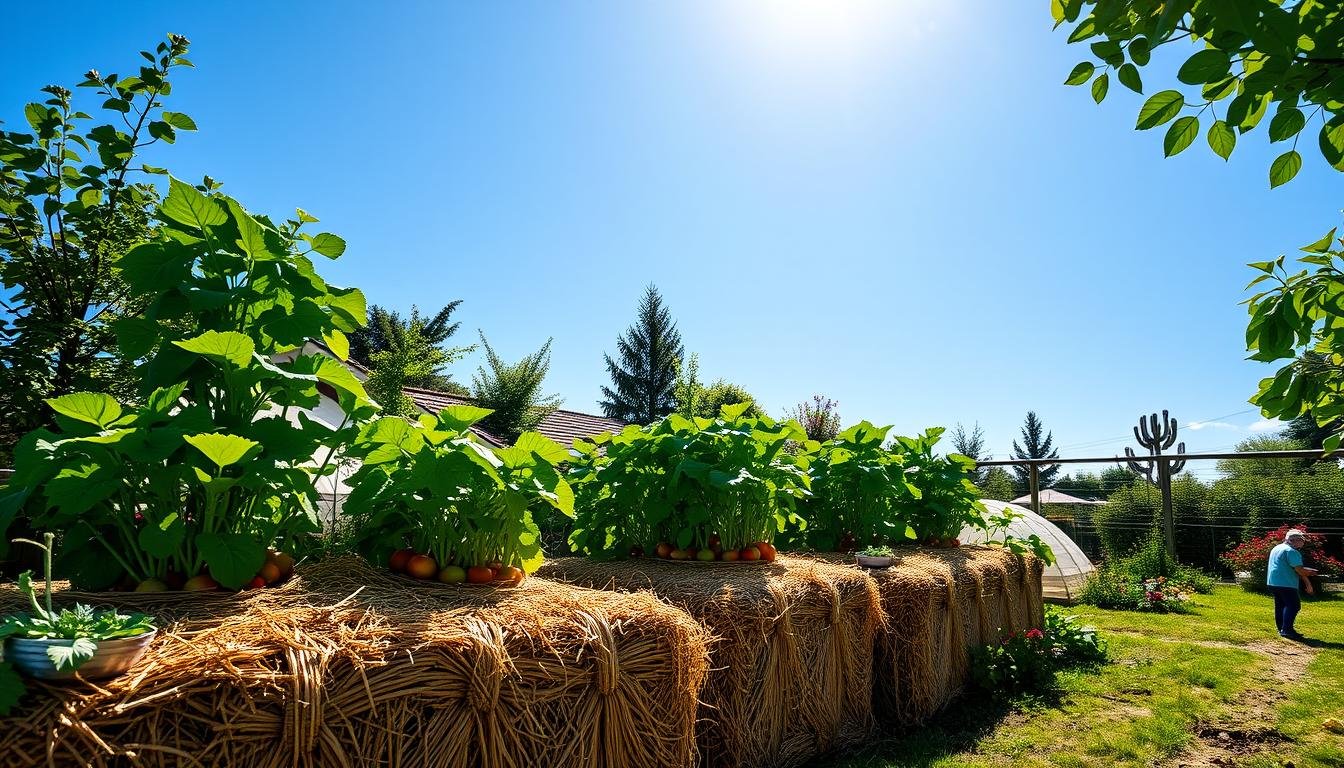
Straw bale gardening is a new and green way to grow your own veggies. It’s perfect for places with bad soil. You use straw bales as both the bed and the soil, making it cheap to start a garden. It’s cheaper than raised beds and easier to keep up.
The straw bales are weed-free and turn into compost, feeding your plants. This method lets you grow a vegetable garden without spending a lot on beds or soil.
Table of Contents
Understanding Straw Bale Gardening Basics
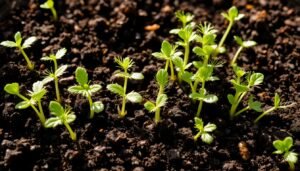
Straw bale gardening is a new way to grow veggies, even in bad soil or small spaces. It uses straw bales as the soil, making a raised garden. This garden can go almost anywhere with sunlight.
Difference Between Straw and Hay Bales
It’s key to know the difference between straw and hay bales for gardening. Straw comes from cereal crops like wheat or oats. Hay is for animals and can have seeds, which you don’t want in your garden.
Benefits of Straw Bale Gardens
Straw bale gardens have many benefits. They work well in bad soil and can be set up anywhere sunny. This is great for city gardeners or those with little yard space. Plus, they’re easy on your back because you don’t have to bend or kneel much.
How the System Works
The secret to straw bale gardening is the conditioning process. For 14 days, you add special fertilizers and keep the bales wet. This makes the straw ready for your veggies. When the bales are warm, around 75-80°F, it’s time to plant.
Straw bale gardening is a fun and rewarding way to grow your own food, even in small spaces. Learning the basics can lead to a big harvest of fresh veggies right from your garden.
Selecting the Perfect Location for Your Straw Bale Garden
When you’re into small-space gardening, urban gardening, or raised bed gardening, picking the right spot is key. Your garden needs at least six hours of direct sunlight a day. Also, having a water source nearby is important, as the bales will get heavy when they’re wet.
Put the bales on newspaper or cardboard to stop weeds and keep them stable. Make sure there’s enough space between them for easy access. Choose your spot before you start conditioning the bales, as they’ll be hard to move when wet.
“Straw bale gardening allows for planting over tree root systems like black walnut trees without inhibiting the growth of vegetables due to toxins in the soil.”
If deer are a problem in your urban gardening area, use tall, strong fencing to keep them out. Or, look into other raised bed gardening ways to protect your plants.
Straw bale gardens can go on many surfaces, like concrete or gravel, without needing fertile soil below. But, if your soil is bad, use a ground cloth or landscape fabric to keep plants safe.
For a great straw bale garden, you need full sun, a good water source, and straw bales. With the right planning, your small-space gardening will give you lots of vegetables.

Essential Equipment and Materials Needed
Starting your organic vegetable growing on straw bales requires the right tools and materials. You’ll need straw bales, gardening tools, and organic fertilizers. Let’s explore what you need for a low-maintenance garden.
Tools and Supplies Checklist
- Straw bales (typically around $10 per rectangular bale)
- Newspaper or cardboard for base layers
- Hand trowel for planting
- Garden hose and watering equipment
- Organic fertilizers like blood meal or bone meal
Types of Fertilizers Required
High-nitrogen fertilizers are key for straw bale preparation. Use ½ cup of urea (46-0-0) in days 4-6. Then, reduce to ¼ cup per bale in days 7-9. This makes the bales ready and nutrient-rich for your garden.
Additional Growing Supplies
For certain vegetables, you might need soil or compost for direct seeding. Also, supports or trellises for climbing plants like tomatoes and cucumbers. Make sure all materials are organic for an eco-friendly garden.

“Straw bale gardening provides an inexpensive method of growing organic vegetables, with the bales acting as both garden bed and growing medium.”
Growing Vegetables on Straw Bales: Step-by-Step Process
Starting a straw bale vegetable garden is rewarding. It mixes organic gardening techniques with new growing methods. First, place the straw bales and wait 14 days to get them ready for planting. Here’s how to grow veggies on straw bales.
Begin by setting up the straw bales in your garden. Make sure they lean against something to stay upright. Soak the bales 3 days before starting the conditioning. This helps them start breaking down and becoming rich in nutrients.
For 14 days, water the bales 2-3 times a day. Use a high-nitrogen fertilizer at first, then switch to a special veggie fertilizer. This step is key to getting the bales warm enough for planting.
| Day | Watering | Fertilizer |
|---|---|---|
| 1-10 | 2-3 times daily | 1/2 to 1 cup high-nitrogen fertilizer every other day |
| 11-14 | 2-3 times daily | 1 full cup vegetable and tomato fertilizer for the last 4 days |
Once the bales are ready, start planting your straw bale vegetable garden. Make holes for seedlings or add potting soil for direct seeding. Choose compact plants to make the most of your space. Water the bales every day or two to keep them moist. Enjoy the compost that will form by the end of the season.

“Straw bale gardening is a unique and innovative way to grow vegetables, even with little space or poor soil. It creates a rich growing medium, making gardening easy.”
–Amy Stewart, author of Wicked Plants
Conditioning Your Straw Bales for Planting
Getting your straw bales ready for growing veggies is key in sustainable gardening. This 14-day prep involves daily watering and adding fertilizer. It turns the bales into a rich soil for your plants.
The 14-Day Preparation Schedule
- Days 1-3: Water the bales well, keeping them damp.
- Days 4-6: Sprinkle each bale with 1/2 cup of urea (46-0-0) fertilizer and water well.
- Days 7-9: Use 1/4 cup of urea per bale daily, and keep watering.
- Day 10: Stop adding fertilizer, but keep the bales moist.
- Day 11: Your bales are now ready for planting when it’s cooler.
Monitoring Temperature and Moisture
Check the bale’s temperature with a compost thermometer or your hands. The best planting temperature is 75-80°F (24-27°C). Keep the bales moist by watering daily as needed.

By sticking to the 14-day prep and checking temperature and moisture, you’ll set up your garden for success.
Best Vegetables for Straw Bale Gardens
Straw bale gardens are great for growing vegetables. Straw bale gardening offers a rich, well-drained soil for many veggies. It’s perfect for straw bale vegetable gardening and containerized vegetable gardening.
Some top veggies for straw bale gardens are:
- Tomatoes
- Peppers
- Eggplants
- Squash
- Cucumbers
- Strawberries
Leafy greens like lettuce and spinach, and beans, also do well. But, avoid corn and root veggies like potatoes and carrots. They don’t grow as well in straw bales.
Choose compact or bush varieties for your straw bale garden. This makes them more stable. Plant 2-3 tomato plants or 4 pepper plants per bale. For lettuce and beans, just sow the seeds directly into the bales.
| Vegetable | Recommended Plants per Bale | Notes |
|---|---|---|
| Tomatoes | 2-3 plants | Compact or bush varieties are best |
| Peppers | 4 plants | Offer various flavor options |
| Eggplants | 2-3 plants | Thrive in warm conditions |
| Lettuce | Direct sow | Great for continuous planting |
| Spinach | Direct sow | Grows quickly and can be harvested in a few weeks |
By picking the right veggies and following containerized vegetable gardening tips, you can make a straw bale garden thrive. It will give you a lot of food all season long.
“A straw bale garden is a unique and sustainable way to grow your own vegetables, even in small spaces.”
Planting Techniques and Spacing Guidelines
Urban gardening and small-space gardening with straw bales is unique and efficient. It’s important to know the right planting techniques and spacing. This will help you get the most from your garden.
Transplanting Seedlings
To transplant seedlings, make divots in the bale and place the seedlings in them. Fill the area around with peat-based potting soil. This keeps the soil moist and supports your plants.
This method helps your seedlings adjust well to their new home in the straw bale.
Direct Seeding Methods
Starting from seed is easy too. Spread a 1-2 inch layer of peat-based potting soil on the bale. Then, plant your seeds as you would in a regular garden. This helps them grow well in the straw bale’s nutrient-rich environment.
It’s key to space your vegetables right. For big plants like tomatoes, peppers, or eggplants, use 2 seedlings per bale. For smaller plants, like cucumbers or strawberries, you can fit 4 to 6 plants or 3 to 4 plants per bale.
By using these techniques and spacing, you’ll have a successful urban gardening or small-space gardening experience with straw bales.
Supporting Systems for Climbing Plants
When growing veggies in your straw bale garden, you’ll need strong support for climbing plants. This includes tomatoes, cucumbers, or pole beans. Hammering stakes through the bale and into the ground works well for tall plants like tomatoes.
For medium-sized plants, wire cages are a good choice. They keep plants upright and productive. If your straw bales are on a patio or deck, anchor the stakes to the back of the bale for stability.
Choosing compact, bush-type veggies is a smart move. They need less support and fit well in straw bale gardens. The Dwarf Tomato Project has great options for raised bed or straw bale gardens.
Make sure to set up support structures early. This way, you won’t struggle with big, hard-to-manage plants later. It makes gardening easier and more efficient.